January 14, 2022

DIY Personalized Christmas Ornaments

Two years ago, I made my first holiday ornaments using acrylic blanks and vinyl stickers. I wanted to give them to my family and friends for Christmas but I was not able to do it because I don’t have enough acrylic blanks. So last year, I made sure to buy my supplies as early as possible. 

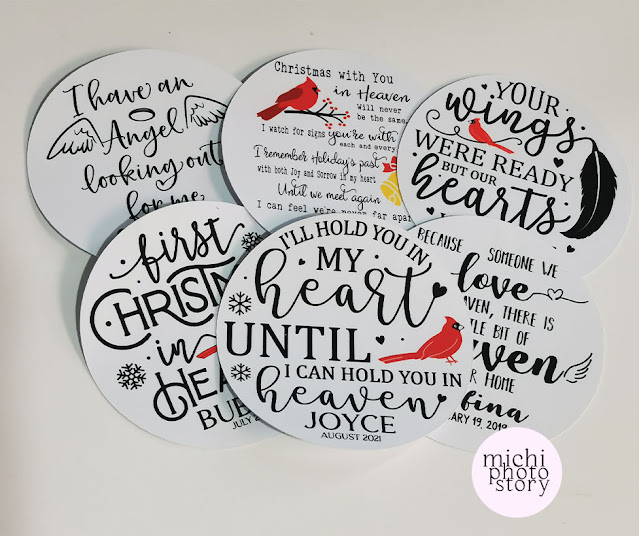
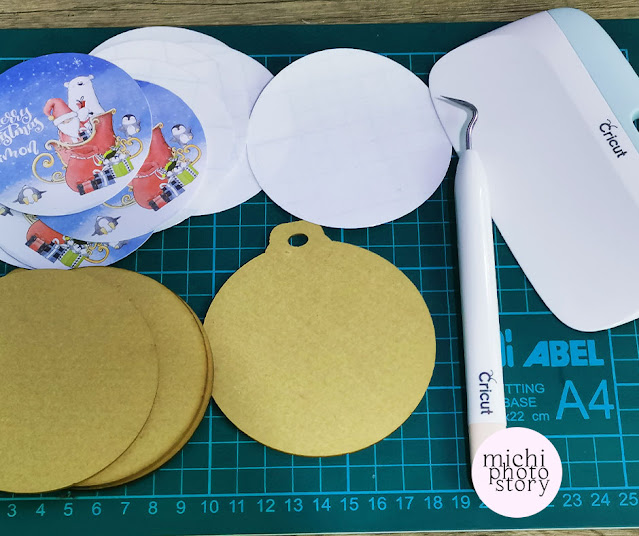
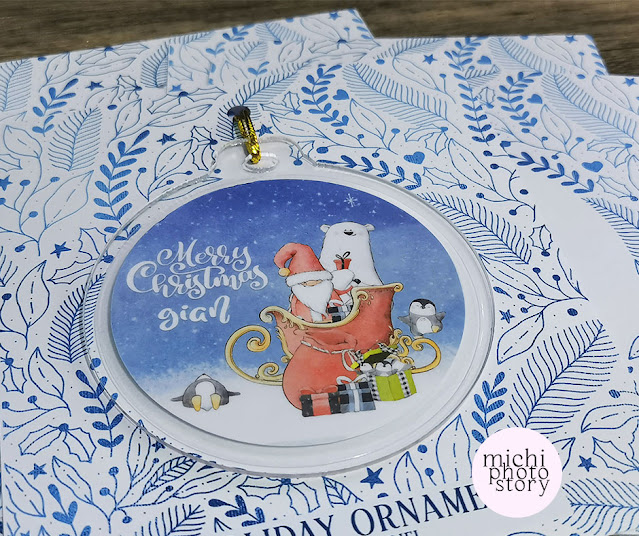
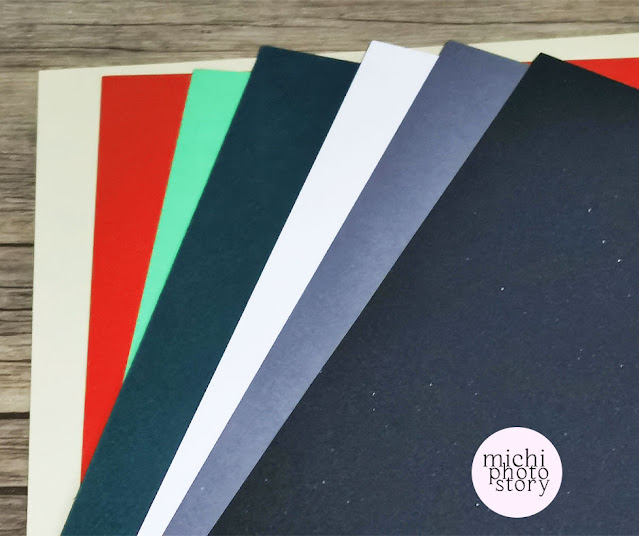
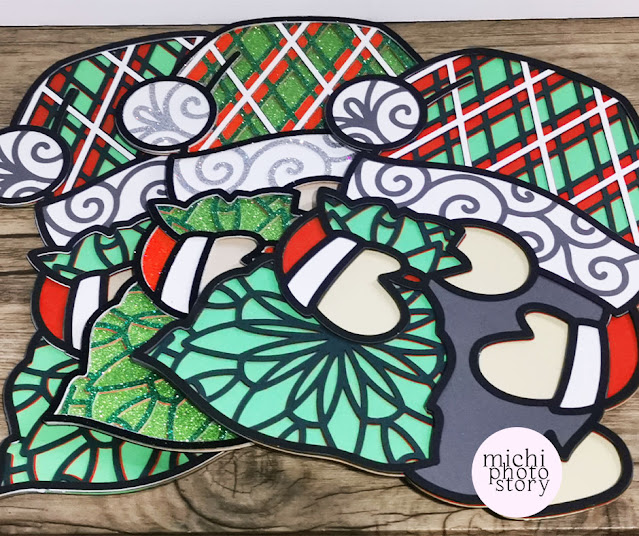
I’ve been making different holiday ornaments since the start of November and this is the last ornaments that I made “Personalized Christmas Ornaments”. I tried a lot of designs first and it was trial and error. I’ve been wasting a lot of materials so I stopped experimenting and I settled for the ready-made SVG files just like my first holiday ornaments. But for a change, I personalized it by adding names or family names. I used again the following digital files for my ornaments. 


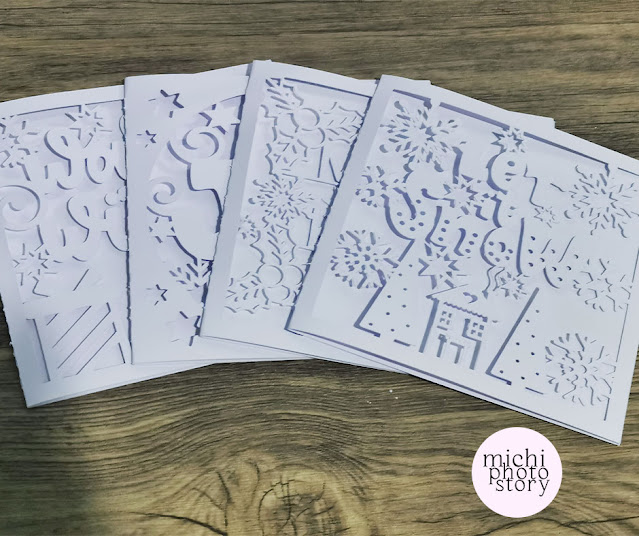
I cut almost all the Christmas Letterings using different colors of vinyl stickers but I ended up with these two colors; copper and silver. 

Christmas Letterings 

Merry & Bright 
Love, Peace, Joy 
Jingle Bells 
Believe in the Magic of Christmas 
Merry Christmas 
Joy to the World 
Christmas Blessings 


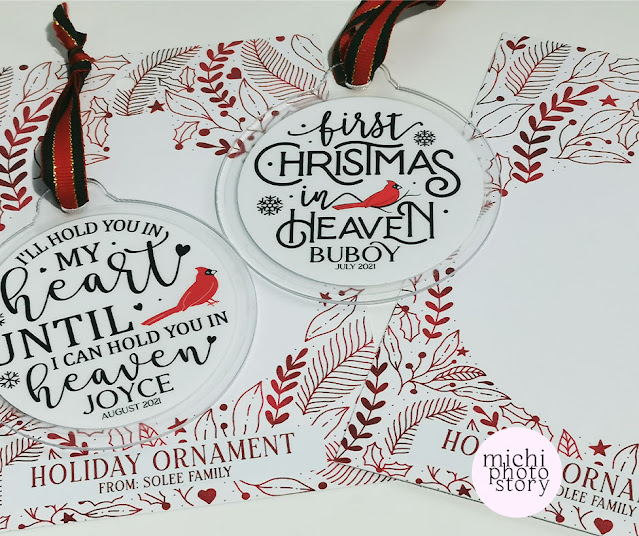
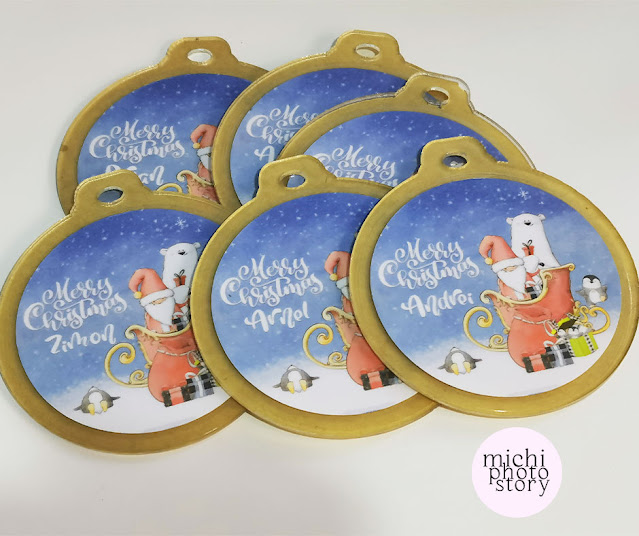
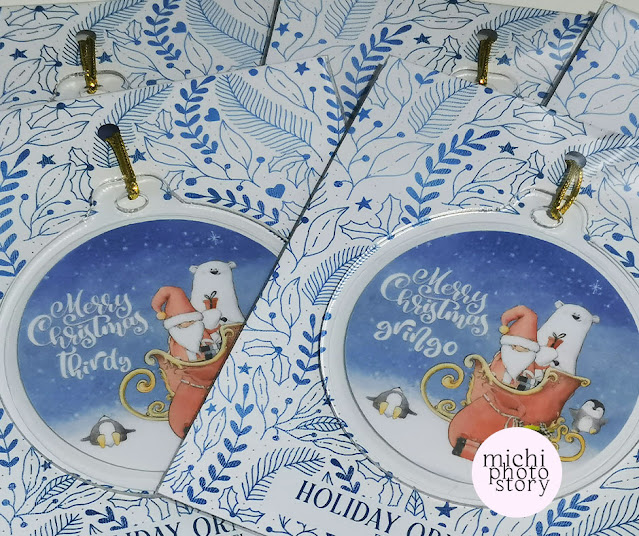
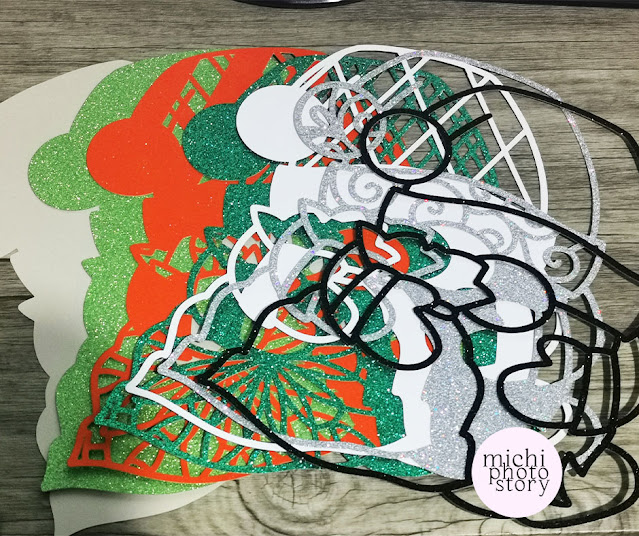
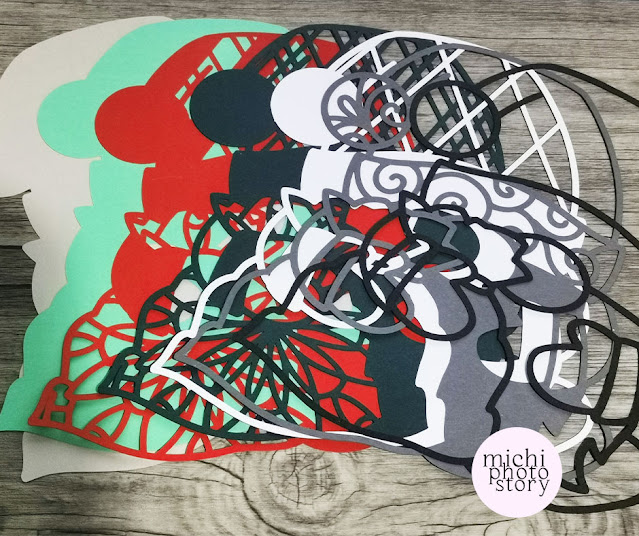
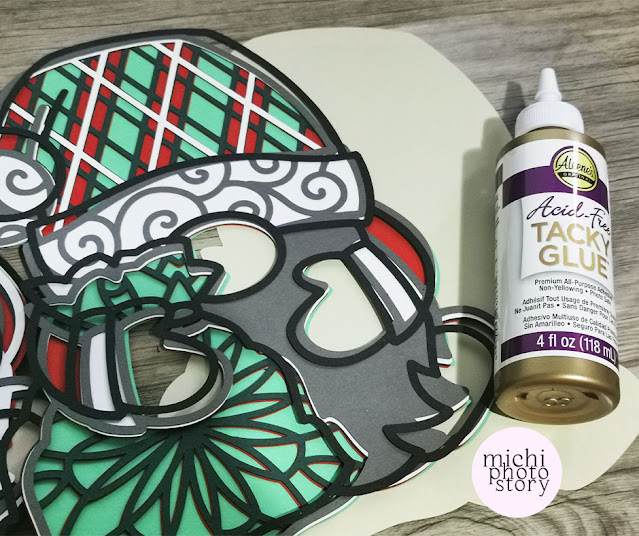
After finishing these ornaments, I finally, had the courage to try a new design, though it also took me a lot of tries, I did not give up. But I’m already pressed for time so I only used one design and just changed the name and used different colors. I used six colors; copper, silver, green, blue, red, and frosted vinyl stickers. But it was a challenge to weed the frosted glitter so I only made one for my son. 


I also shipped the ornaments to my mom and I was glad that she was able to receive them before New Year, so at least naisabit pa rin sa Christmas tree. Buti pa ang ornaments ko nakatravel na sa Norway. Hehehe! It took me a lot of time to finish these ornaments but I felt happy when my family and friends sent me pictures of my ornaments on their Christmas trees.


“Christmas is a box of tree ornaments that have become part of the family.” - Charles M. Schulz


* This post contains affiliate links.

January 13, 2022

DIY Christmas Cardinal Ornaments Using Acrylic

Christmas is supposed to be “the most wonderful time of the year” but for some of us, this season only highlights our pains. Last year, we lost my uncle-in-law and aunt-in-law and I can’t imagine the pain of my cousins-in-law who lost their parents in a span of one month. I have no idea that I will make another memorial ornament and it is just so sad to think that since year 2018, we are losing someone we love. You can really feel their absence, especially during our reunions. Just like that our lives are never the same. 

In memory of those who left us too soon, I made another Memorial Christmas Ornament and I also upgraded my first memorial ornament. Two years ago, I used sticker paper and wooden blanks but I know that the sticker won’t last so I decided to change it and add phototop. 

Materials: 
Acrylic Ornament Blanks 
Vinyl Sticker Paper 
Phototop
Ribbons 


The process is the same as the Acrylic Holiday Ornaments that I shared in my previous post. I always work smart not hard so I used ready-made graphics and I just tweak the designs so there would be space for the name and date. I used the following digital files for my Memorial Ornaments. 


After editing the files, I uploaded them to Cricut Design Space for printing and cutting. Then layered everything on my acrylic blanks and add ribbons. I made a few pieces of these ornaments so I shipped some to my mom. Even though our loved ones can’t be with us anymore, at least kahit sa ornaments man lang maging part sila ng Christmas. 


By the way, I always hear “When cardinals are here, angels are near” so I made some research. As per my research, cardinal birds hold a special meaning. They are messengers from heaven to let you know that your loved ones are watching over you. They are signs that those we’ve lost will live forever if we keep their memory in our hearts. 

"You’re still so alive in our hearts that sometimes my brain forgets you’ve left this earth." 

"It’s okay not to be okay, even on the holidays." 

"The grief doesn’t get less, my dear, you just get stronger." - Zoe Clark Coates 

"I cry for the life you lived and the one you didn’t". 

"Each day within me I fight a silent battle of surviving yet another day without you." - Narin Grewal

January 12, 2022

DIY Acrylic Holiday Ornaments

It is already January but I’m still blogging about my holiday ornaments. And expect that this is just the start of my ornament series because I’ve made different ornaments last year. I wanted to blog about this last year but I can’t because this is my husband’s gift for his colleagues. Wala ng surprise if ever may makakita ng post ko. #feelingmaynagbabasa hehehe! 

Anyway, I only need 5 Holiday Ornaments so initially, I planned to make Stained Glass Ornaments but I changed my mind because it took me few days in creating my personal ornaments. I didn’t have a lot of time because my husband’s company outing was near. I need an easy project that I can finish within the day. 

Then I remembered the Memorial Ornaments that I’ve made before so I used them as my inspiration for this project. First, I created the design using the Chill Out Christmas Illustration Collection, Hand Drawn Christmas Lettering, and Tropical Hand Drawn Font


Almost two years ago, I just print and manually cut stickers but last year I already knew how to use the print and cut feature of my Cricut Maker so I used the machine to make my life easier. I also cut round phototop to make the stickers water-resistant. Then I layered the stickers and photo top on my acrylic blanks then add a metallic cord. 


After finishing my holiday ornaments, I don’t know how will I package them, I was contemplating if I will use a box or plastic but I ended up using plastic. I remembered the ready-made graphics that I purchased before. The ornament frame from the Holiday Season Collection is perfect for my backing card. I just changed the color that so it will match the color of the ornaments and add some text.


* This post contains affiliate links.

January 11, 2022

Cricut Project: Christmas Insert Card Designs

In my previous blog post, I shared about the Christmas Greeting Cards that I made using my Cricut Maker. I was satisfied with the result so I decided to try another SVG file that I purchased last Black Friday Sale. The Christmas Insert Card Bundle has 7 card designs that are suitable for Cricut Joy, Cricut, Silhouette, and more. I bought the bundle but you can buy per design. 


The digital file includes the card, insert card, and even envelope designs so all you have to do is upload the files on Cricut Design Space and start creating your project. I was so excited to make this project because I thought I just needed to cut the files. I already finished cutting all the cards before I realized that I had forgotten the “Pen Feature”. Waah! 


There are 3 steps in making this card so don’t forget to change the settings to Pen, Score, and Cut. For this project, you need a Cricut Pen, Scoring Wheel, or Scoring Stylus and Premium Fine Point Blade. It’s been more than a year since I got my machine but it was my first time to use my Cricut Pen. The setting is Cardstock Intricate. 

And because of my mistake, I had to start all over again so I repeated the Christmas Bauble and Christmas Tree designs. Based on the example, they used glitter cardstock for the insert card but I decided to use my leftover glitter cardstock to make it more colorful. Then plain cardstock for the insert card to hide the imperfections. 


After finishing the two designs, I decided to reuse the cards that I already cut. It was a challenge to draw the designs so there were some flaws but I still finished all the cards. It will be part of my crafting memories.


Update: 2023


January 10, 2022

Cricut Project: Christmas Greeting Cards

It’s been two years and this COVID19 virus is not yet over so I’m glad that my sanity is still intact. I’m thankful for crafting because it keeps me busy when I felt physically, emotionally, spiritually, and even financially challenged. Bill Malone said “Hobbies are great distractions from the worries and troubles that plague daily living” 

And it is true, in order for me to lower my stress level, I limit my social media browsing and news intake. Instead of sulking because I am stuck at home, I find a hobby that will distract me from my daily worries. So since the start of 2021, I’ve focused on my new hobby and I started exploring my Cricut Maker and doing one project at a time. 

Crafting is a bit expensive hobby because I need to spend on my craft supplies and graphic elements. But for my sanity sake, I invest in my Cricut hobby because it makes me happy. So last Black Friday Sale, I bought a lot of digital files and napasobra ko sa add to cart so I guess my files will last until next Christmas Seasons. Hehehe! 

To justify my spending, I try my best to use those files. And because it was a holiday, I made Christmas cards. Nowadays, we normally send digital cards or text messages for our holiday greetings but I still make an effort to send Christmas cards to my mom who is miles away from us. “Sending Christmas cards is a good way to let your friends and family know that you think they're worth the price of a stamp.” - Melanie White 


I purchased these Merry Christmas Greeting Cards Templates last Black Friday Sale so I was crossing my fingers that I can do this project successfully. I tried making cards last March but it was not successful so after wasting a lot of cardstocks, I stopped the project. It took me several months to try it again and I’m so happy that I made it. “If at first, you don’t succeed, try, try, try, try, try again” Michael Chang 


The Merry Christmas cards templates are so easy to use and it is suitable for Cricut, Silhouette Cameo, or even hand cutting (print). The designs can be cut using different materials like paper, vinyl, stencil, and others. In my case, I used white and colored cardstock. I uploaded the design on Cricut Design Space, changed the size of the file to fit my cardstocks, and clicked Make It. The setting is cardstock intricate. 


I only need a few cards but I cut all the designs so I can practice more. I also created a square box for my card insert or backing. My cardstock colors are limited so I only use 3 colors. My son used the Let It Snow card and I sent it to my mom.

6 Designs of Christmas Greeting Card Templates


* This post contains affiliate links.

January 06, 2022

Printable Learning to Trace Activity for Kids

Giving gifts to toddlers is easy because there are so many options out there, you can buy toys, books, and clothes. But because of the COVID19 virus, I am hesitant to go to the mall just to buy gifts so the majority of my gifts last Christmas were DIY. Three months ago, I prepared Alphabet Dot Marker for my godson’s birthday so last month, I prepared this Learning to Trace activity for my husband’s nephew. 


To make my life easy, I just purchased this Printable Learning to Trace Activity. This is a digital file that includes AI, PDF, and PNG files. This activity is good for 3 years old and above, toddlers, Preschool, and even Kindergarten kids. Children will learn how to trace lines, shapes, and even the alphabet. The file is ready to print already so I did not change anything. I just print and laminate everything. 


I remember when my son was in toddler years, I bought a lot of tracing activity books so I like this laminated version because it is not a one-time-use. Just use whiteboard markers and wipe after using. This is a nice activity especially now that most of the kids are stuck at home because of the COVID19 restrictions.  

* This post contains affiliate links.

January 05, 2022

Cricut Project: Santa Gift Card Holder

I’ve spent the last quarter of 2021 doing crafts so I guess my blog for the month of January is filled with DIY and Craft posts. Yesterday, I blogged about 3D Christmas Gnomes and today let me share with you an easy DIY project which is Santa Gift Card Holder. 

I initially wanted to make a Christmas money envelope but I purchased this Santa Gift Card Holder during Black Friday Sale so why not use it. This is an easy project and you can make this even you don’t have a Cricut. There is a PDF file that you can print and use as a pattern to cut your paper.


But since I have a Cricut Maker, I just uploaded the SVG file on Cricut Design Space. I did not change the size, I just change the color and duplicate the shapes so I can make a few pieces of it. I used light to heavy and glitter cardstock


Assembling the pieces is easy and I used Aleene’s Original Tacky Glue for that. I also cut names using a white vinyl sticker and stick them at the back of the card. This is a gift card holder but I used it as a money envelope. I just put washi tape to secure the paper money. 


* This post contains affiliate links.

January 04, 2022

Cricut Project: 3D Christmas Gnomes

In my previous post, I mentioned that my son has a Table Appointment project and he was informed that there will be additional points for those students who will submit early. Since it was Christmas Season, my son will prepare Christmas Table Appointment so I decided to make decorations so our wall won’t be bare. The decors are not included in the computation of the grade kasi ang ivideo ko naman yung pagset niya ng table pero para mas feel ang Christmas, I decided to make Christmas Gnomes. 


I purchased this 3D Christmas Gnomes file during Black Friday Sale, it has 5 designs but I only tried one design because my cardstocks colors are limited. I used different cardstocks ranging from light to heavy and I also used some glitter cardstocks so I can complete my layers. 


At first, I planned to make one Christmas gnome but since I did not encounter any problem in cutting the design, I ended up making 3 gnomes, perfect for our family of three. This design has 7 layers of paper and I added an acetate at the back so the paper won’t be damaged if I will stick it on our wall.


I don’t have an adhesive spray so I just used Aleene’s Acid-Free Tacky Glue. Assembling all the papers take time but I’m satisfied with the result and as of this writing, it is still on our wall. I will make the other designs for the next holiday. :)

* This post contains affiliate links.

January 03, 2022

Shopping at Mandaue Foam Sta Rosa

Happy New Year! Vacation is already over and today is the first day of school but my mind is still on vacation mode. For the last two months, I’ve been busy with my holiday preparations and end-of-the-year errands so I have less time to blog but this year, I will try my best to finish my backlogs. 

Anyway, I’ll start with our first visit to Mandaue Foam Sta Rosa. I’ve learned that they have a new branch but I thought it is far from us so I was really surprised when I saw this store just in front of the New Sinai MDI Hospital. It just so happened that last October, my mother-in-law was confined in the hospital and my husband dropped by at the cashier to pay bills. So this was my view while waiting at the parking lot. I’m happy that we don’t need to travel to Alabang just to visit Mandaue Foam. 


But since we don’t have the budget for shopping yet so I promised myself that I shall return. Hehehe! After a month, my son has a table appointment project in school so I decided to check Mandaue Foam Sta Rosa and I was glad that they are on sale for up to 30% so I bought some kitchen stuff for our home. The store has two floors and marami rin naman mabibili. Sharing some photos that I took. 


Klook.com